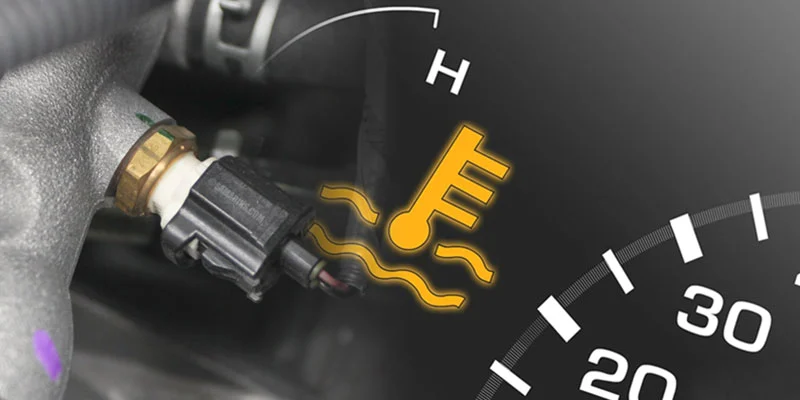
How should I put coolant into my car? This question has come up time and time again, especially after recent accidents. The answer depends on several variables, such as the type of vehicle, the temperature outside, and even the age of the coolant system.
If you’ve ever had to replace the coolant in your car, you probably wondered why it was necessary. After all, coolants are designed to prevent overheating, right? Well, they also play a role in keeping your engine from seizing or burning out.
It’s important to check the level of coolant in your car before starting it. If you don’t, you risk damaging your engine. And if you don’t know how much coolant to add, you might overfill it. That could cause damage to your cooling system and result in expensive repairs.
Hence, in this blog post we are going to discuss the various aspects on how to put coolant in a car.
How to Put Coolant in Your Car (10 Simple Steps)
Not just the right coolant matters, adding it to your engine reservoir in the right ways also matters.
Here are the detailed steps on how to add the coolant to your car:
1. Turn off the Vehicle to Cool Down the Engine
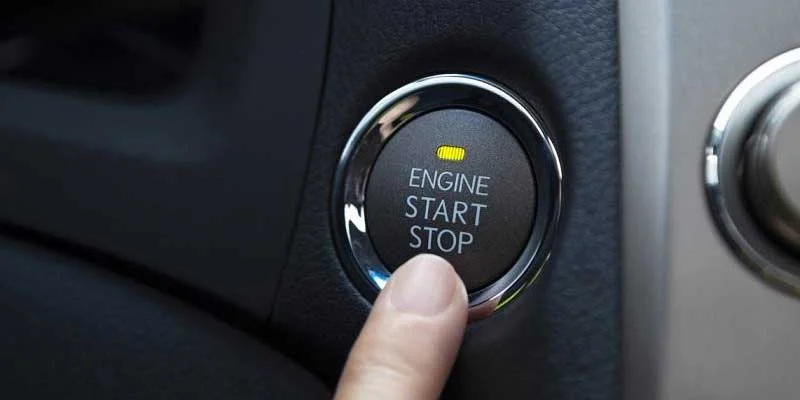
Hot engine may burn your hands. So you need to cautious about the engine temperature when you are considering to top-up or change the coolant. It is important that the engine should be completely cool. In winters, it takes almost 20-30 minutes after a long drive to let the engine cool down.
However, in summers, it may take upto 2 hours to cool down your engine after an immediate drive. External temperature and other factors play a crucial role in determining your engine temperature.
2. Locate the Coolant Reservoir or Radiator
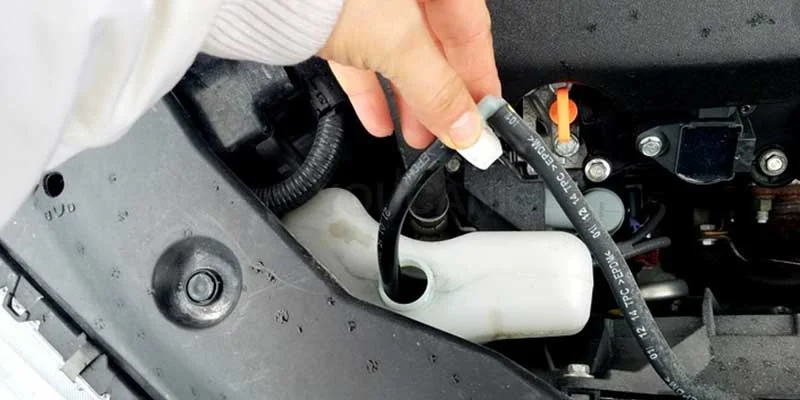
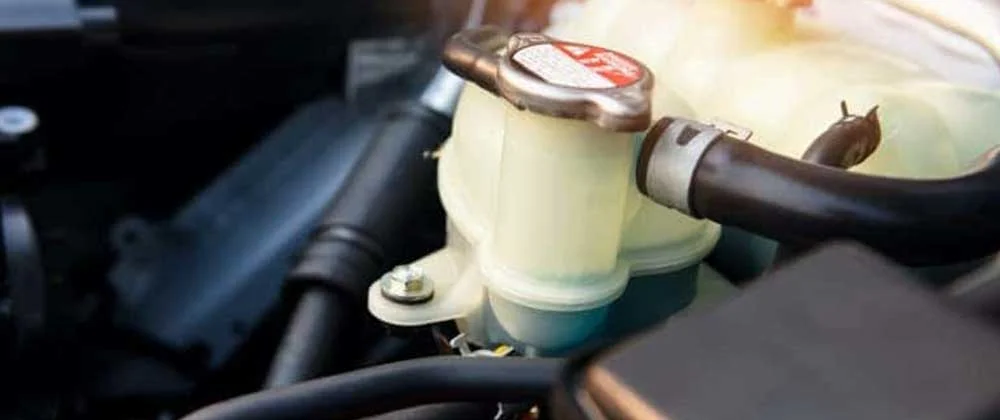
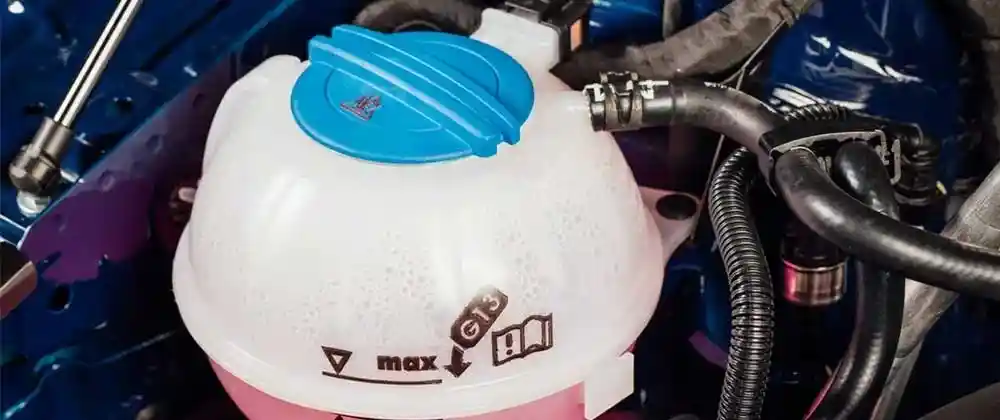
As we know that the coolant is stored in a translucent- white container with a black screw lid or metal lid coolant reservoir, it is further connected with radiator using hoses. It is mostly located at the engine front with a fill range marked on its sides. A radiator is typically beneath this reservoir.
You can refer the car manual to understand precisely where the reservoir and radiator located.
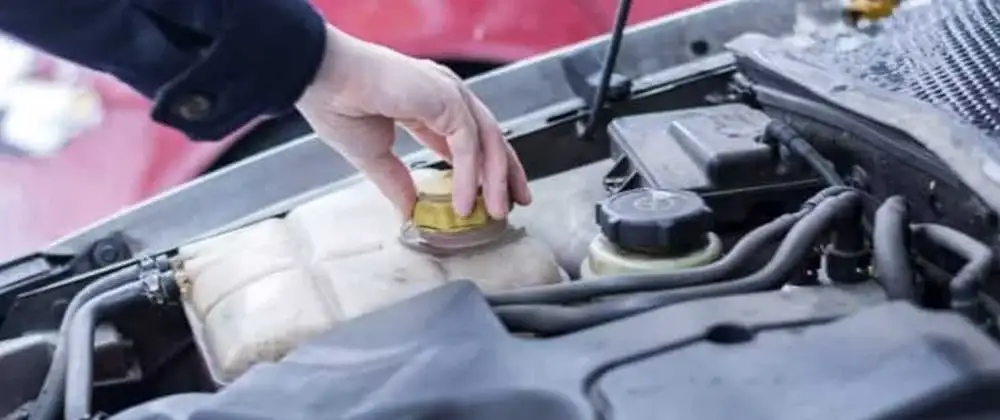
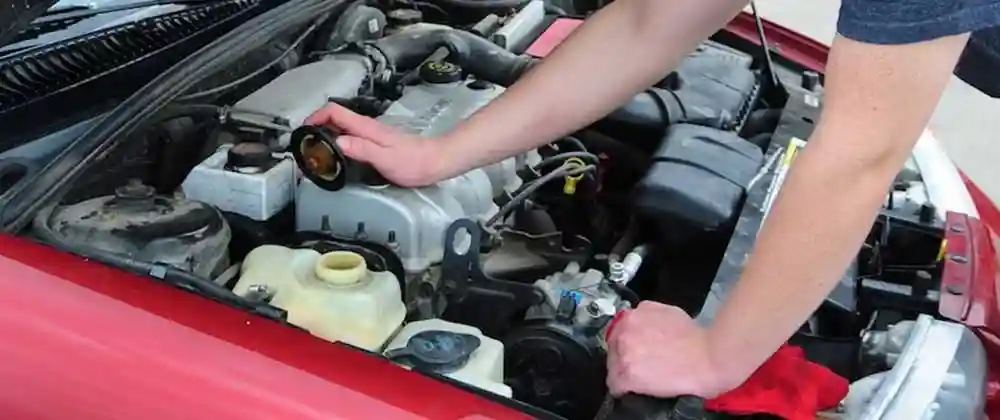
3. Remove the Coolant Cap
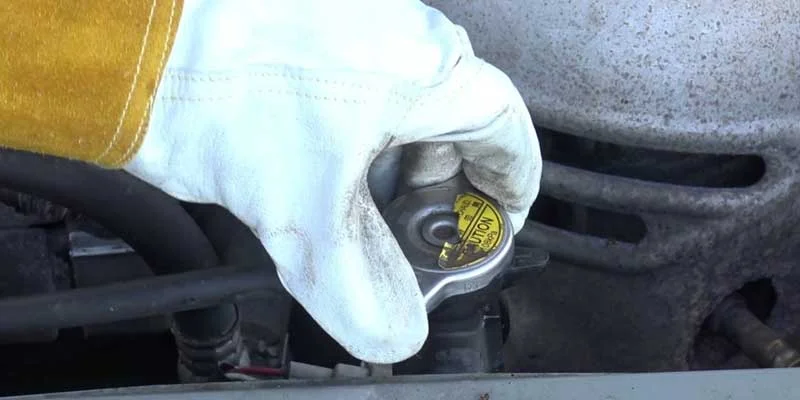
Once you locate the radiator, open its hood or coolant cap. The caps are usually appear to be oval instead of circle in shape. Even the newer vehicles have radiator cap with labels so that you can locate it easily. On spotting the coolant cap, it’s time to replace it carefully.
Ensure that the cap should not be hot. If you try to remove the hot cap, there can be a gas pressure or scalding fluid that escapes forcefully. If the engine is cool, still use a thick cloth or rag to unscrew the cap. For additional safety, we recommend using safety goggles and gloves.
For very tight radiator caps, try to press it down first.
4. Clean the Old Coolant (optional)
Most of the time it is possible to refill the low levels of coolant returned to their original levels. Very rarely, the draining of the old coolant is needed unless it’s in a state of contamination or lacks the right ratio of water-antifreeze. If you decide to complete the drain following is the procedure (and some helpful tips!) to help you:
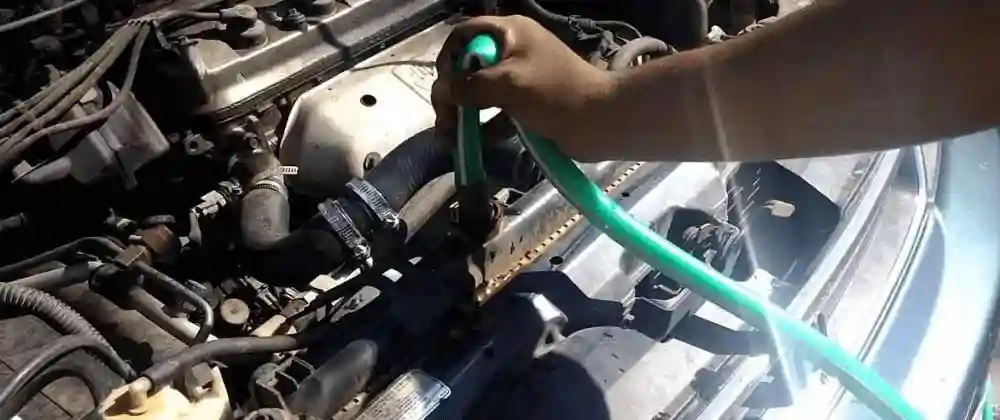
Utilize the jack stands to elevate and hold the front on your car. After that, you can place an enormous drain pan such as the oil pan or a disposable bucket, or pail that you use only for this purpose under the radiator and take off the cap on your radiator (or the cap that controls pressure from the tank of coolant if your radiator doesn’t come without one.).
Find the drain cock in your car and then unlock it by unscrewing. Drain cocks come in the following styles — screw threads, quarter-turn twist, and quarter-turn-and-pull — so it is always wise to turn to your service manual for the specific style your car has. The drain cocks become weaker with time and have an increased chance of breaking as compared to new ones un-screwed. To protect yourself take the time to purchase a replacement drain cock at the local auto shop prior to taking the first step to remove your coolant from your engine.
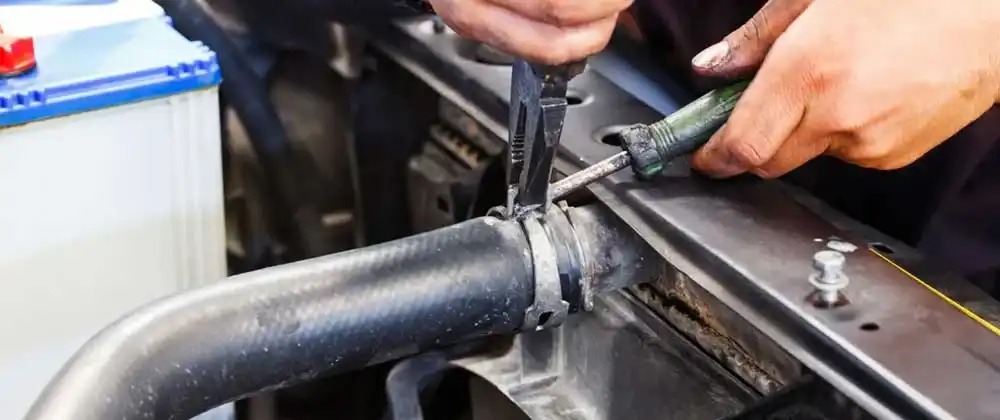
Remove the clamp on the radiator hose and the engine hose to remove the remaining engine coolant. Use slip-joint clamps to take out spring-style clamps and pull the clamp off of the neck. Purchasing these hose-clamp piers can save time and helps prevent injuries to the knuckles which could be a common occurrence in older cars. They can also make accessing and releasing the lower clamps for radiators easier easily.
Reconnect the radiator hose to the drain cock following the removal of the coolant completely into the pan for draining.
5. Mix Your Coolant
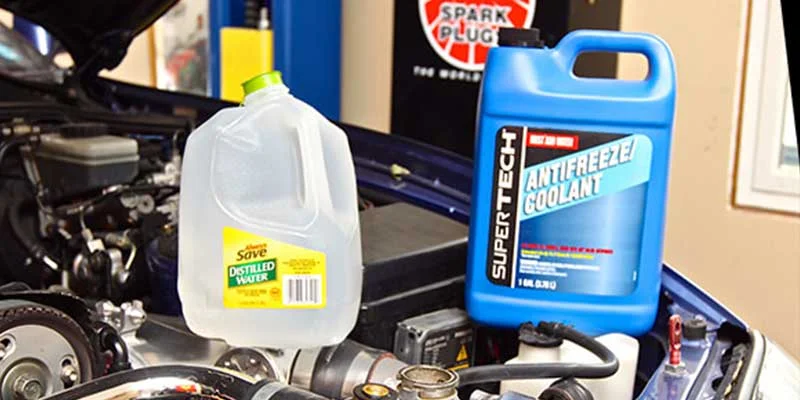
Although many sources claim that coolant and antifreeze are interchangeable, they’re not. What is coolant in a vehicle? It is composed of antifreeze and distilled water. Antifreeze is one two components required to create a mixture of coolant. Antifreeze is the concentrated mix of glycol-based liquid. The coolant derived from propylene glycol is orange in color.
It is not necessary to come up with your own cooling mix. Antifreeze mixes are readily available in large retail establishments or automotive parts retailers. Certain manufacturers might require extended-life coolant for certain vehicles, and it might not be available at the neighbourhood auto store. If this is the case, be sure to purchase it from a dealership and not choose lower-cost alternatives that do not match the specifications of your vehicle.
How do you put engine coolant or AC inside a car?
You are free to make up your personal antifreeze solution if have the mechanical expertise. The usual ratio for most vehicles is 50:50 or part-antifreeze-part-water but could change to a 70:30 ratio depending on ambient temperature. However, the most effective (and most secure) method to follow is to adhere to the manufacturer’s guidelines (found on the bottom on the label) to dilute the concentrated coolant.
To avoid mineral deposits from developing on surface of the internal engine and radiator make sure you ensure you use pure water and never tap water in mixing the coolant and water in the clean bucket. Additionally, you should take your level of protection against coolant into consideration when you refer to your service manual to determine the proper coolant mix.
Don’t look for an general coolant if there is a shortage of the specific antifreeze product you require. It could result in premature failure of components and invalidating the warranty on your car. Additionally, the universal coolants are frequently not compatible with metal alloys, seals, gaskets and seals that are found in the latest automobiles. There’s a valid reason why manufacturers are very strict with regards to the coolant requirements for their vehicles.
6. Add Your Engine Coolant
When adding your coolant first check your coolant’s minimum (MIN) as well as the maximal (MAX) lines that are located on the sides of the reservoir or overflow tank. These lines should indicate what level your coolant is currently.
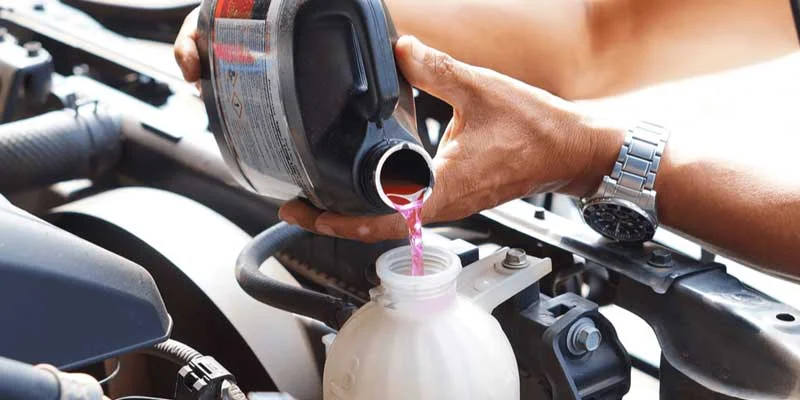
If your coolant level is below or close to the MIN mark, you can make sure to add the coolant mix you made earlier just a couple of inches lower than the MAX mark or the full marking on the tank that holds the coolant.
However, if you’re forced to pull off the side of the road due to this it is possible to utilize diluted coolant, or distillate water (if you’re in a tight spot).
There’s a little disagreement about where the coolant is disposed of in a car. The ideal is that coolant for engines be replenished through the coolant tank but not direct through the radiator. However, for older cars that do not have any overflow tanks, it might be fine to top off coolant by using the cap on the radiator (provided the engine has been cooled). If you have an older vehicle and want to do this then slowly fill the radiator with coolant mixture until it is one inch lower than its neck.
Tip: Lifting your vehicle’s temperature while filling the coolant in your engine reduces air pockets from forming inside the engines.
Make use of a funnel to prevent spills, no matter if you fill cooling fluid for your radiator at home or out on the road. So, you will not have coolant on your skin or spill out onto the floor. Be aware that this product is poisonous, so you must take extra precautions.
7. Replace the Thermostat, Radiator or Cap for Coolant (recommended)
Once you’ve filled your tank with coolant or radiator to capacity The cap should be screwed back in until you hear it click. The work should be completed by now, but I recommend doing this additional step. Ideally, you’ll have replacements for your thermostat and radiator/cap even before you begin refilling your vehicle with coolant This is the reason.
The thermostat is an important component of your car’s cooling system. It is the second most common reason for engine overheating is in the event of failure, second to a malfunctioning radiator fan. Even if you fill (or flush your coolant in your engine) often, the frequent occurrences of engine overheating won’t be solved until your thermostat is able effectively regulate the temperature of your engine.
The thermostat and the cap will cost you less than $30 to replace. Additionally, it should not take more than an hour replace the thermostat yourself unless it’s buried. While you’re at it examine other cooling system components in your car, including your blower, the hoses, sensors, belts and, in particular, the pump for water. Check that it isn’t damaged and is able to keep the coolant of your engine flowing.
8. Conduct a Test of Engine Overheating
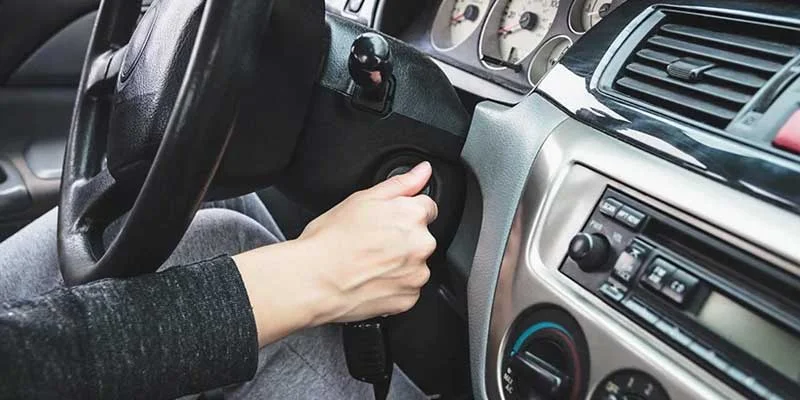
After having completed the previous steps close the hood and then start your car. Let the engine run until the cooling gauge on the dash is at the normal operating temperature. Then, start the inspection for overheating. The amount of time you need to wait to refill your tank may differ.
If it was the reverse (topping your coolant prior to driving) the time frame will depend on the speed of your vehicle as well as the time you spend in traffic, and the time of year. A trip to the nearest 24-hour convenience store will take around 20-30 minutes. A drive at 65 mph could take at least an hour of time for rest for your car. You can expect these times to be shorter in colder weather and longer in the summer months.
TIP: If you experience the engine overheating when testing your car, stop the engine, allow it to cool and then examine the condition of the head gasket, temperature gauge or radiator. If you’re not tech knowledgeable, you should have your vehicle examined by a certified mechanic.
9. Double-Check That the Engine Coolant is at the Correct Level
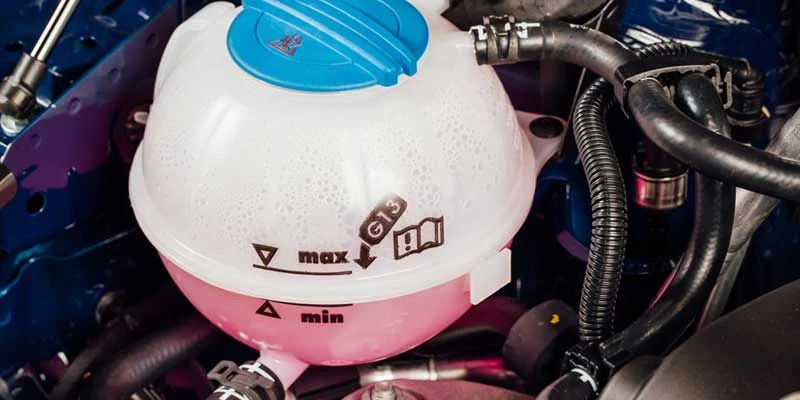
The antifreeze mixture starts circulating inside the engine (during the inspection for overheating) it will result in more space being available within the radiator. It is important to check the coolant level once you’ve taken your vehicle out for a drive and allowed it for it to settle down.
After that you’ll be able to tell if you should make sure you add a little more of the coolant mixture to the tank that is overflowing or not.
The addition of more coolant to bring the level up to the top of the radiator or to the hot markon the tank of coolant will be fairly easy. However, certain vehicles might require a specific air bleeding procedure. Therefore be sure to check your manual for your specific vehicle.
10. Look for Leaks
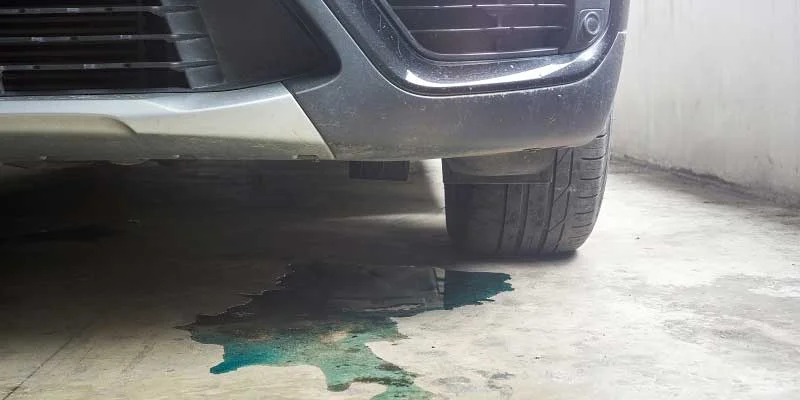
Checking for leaks could be typically done when filling the radiator with coolant from an engine. However, for me personally, the most effective moment to look for leaks or kinks is after all the initial steps on this checklist have been completed.
Why? Leaks that are present do not necessarily get found when new fluid is introduced in the cooling system. However the leaks become more obvious after the coolant has been exposed to a warm-up process.
There are times when leaks are not discovered however indications of low coolant levels on the vehicle are evident when you add new fluid to. If this happens take the vehicle in to a mechanic who is certified for a thorough check of both external and internal systems.
This includes all the passages that circulate the coolant in the engine, and pinpointing the cause for this issue. Anything that is damaged, squishy or swollen needs to be repaired or replaced.
Remove old coolant from your engine correctly. Do not flush it down in a sink unless the household drainage is connected to the sewer system of your city or water system. Instead, place it in an uncapped plastic container, then take it to the closest treatment plant or recycling facility.
If you need advice on how to properly dispose of cooling system disposal, speak the local municipal department or your local auto shop. Keep in mind that neither the storm drains nor your lawn are appropriate avenues to dispose of the used coolant.
Conclusion
Sufficient coolant levels are essential for smooth functioning of engine. The inadequate levels of coolant may damage the crucial components as head gaskets, water pumps, piston timings etc. Correct antifreeze is important to choose from different types of antifreeze available in the market.

My Name is Christopher Angels, and I am a postgraduate in mechanical engineering. Cars have always excited me as a child, and soon I decided to dive into the world of cars by pursuing mechanical engineering. I also worked as a Mechanic for over 3 years to understand Cars’ anatomy and how each part contributes to its working.
My Name is Christopher Angels, and I am a postgraduate in mechanical engineering. Cars have always excited me as a child, and soon I decided to dive into the world of cars by pursuing mechanical engineering. I also worked as a Mechanic for over 3 years to understand Cars' anatomy and how each part contributes to its working.

